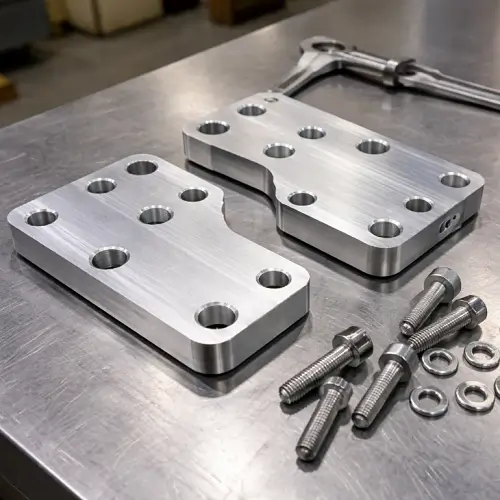
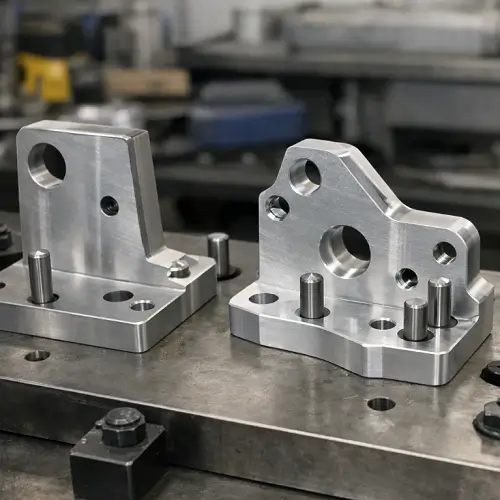
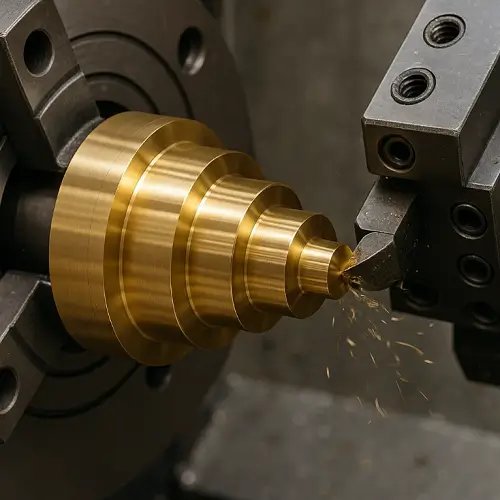
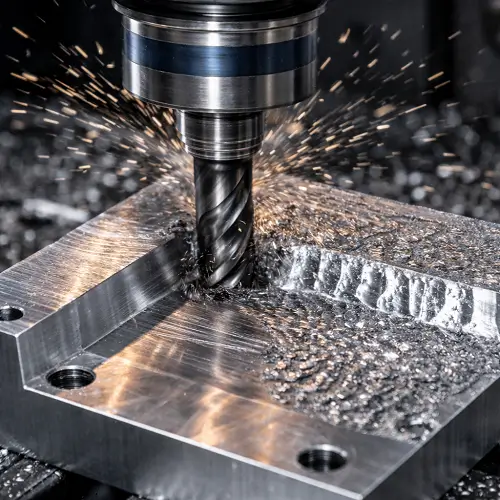
A CNC part can pass inspection on the first run and still start causing trouble once production continues. Hole locations shift just enough to notice. Flatness becomes harder to hold. Assemblies that once went together smoothly begin to need persuasion, even though the program, tooling, and operators have not changed.
When this happens, the first reaction is usually to tweak feeds, offsets, or toolpaths. Cutting parameters get softened. Things may improve for a short time, but after a few more batches, the same assembly issues tend to show up again.
This is usually the point where teams realize inspection numbers are no longer telling the full story. The problem is often not machining quality in the usual sense, but the gap between how parts are inspected and how they actually behave once they are assembled.
What “Passing Inspection” Actually Confirms
In most CNC shops, inspection focuses on individual dimensions. Hole diameters are checked. Thickness is measured. Flatness is verified against a reference surface. If those numbers fall within tolerance, the part is marked acceptable.
What inspection does not really confirm is how features behave together. A part can meet every dimensional requirement on the drawing and still fight you during assembly. This is why inspection reports can look clean and repeatable while the assembly process feels unpredictable.
Inspection confirms size compliance. Assembly exposes functional behavior under alignment, constraint, and load.
Size Compliance vs Functional Fit
Size compliance answers a very specific question: Is this feature within its allowed range? Functional fit answers a different one: Does this feature actually work with the rest of the part and the mating components?
A hole can be round, on size, and still cause problems if its location drifts relative to other holes. A surface can meet flatness requirements and still introduce binding if it is slightly out of square with an adjacent face. These kinds of issues rarely show up when features are inspected one at a time.
On the shop floor, this often shows up as parts that look fine on paper but resist alignment or need force during installation. Assembly is where those relationships finally become visible.
Tolerance Stack-Up in Real CNC Production
Tolerance stack-up is one of the most common reasons parts pass inspection but fail assembly. It happens when small, acceptable variations across multiple features combine into a much larger functional error.
In real production, most parts include several interacting features. Each one is allowed to vary within tolerance. What is easy to miss is how those variations add up once the part is assembled.
When a part has multiple precision features, more than one setup, and tight positional relationships, inspection pass with assembly failure is not unusual. Without deliberate control of stack-up, it is often expected.
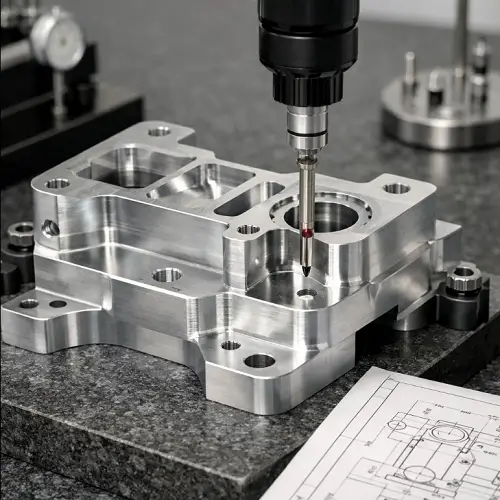
How Multiple Features Accumulate Variation
Imagine a part with several holes that must line up with a mating component. Each hole might be on size. Each position might technically meet the drawing. But if small shifts all lean in the same direction, the combined effect can exceed what the assembly will tolerate.
Individually, none of these measurements look alarming. Together, they create misalignment that inspection data does not clearly flag. Assembly responds to the total accumulated error, not the individual numbers.
The Role of Datum Selection Across Setups
Datum selection plays a much bigger role in stack-up than many teams expect. Every time a part is re-clamped, a new reference condition is introduced. Small differences in how the part seats against fixtures translate directly into positional variation.
When datums change between setups, positional accuracy degrades even if size control remains tight. This is why two parts machined to the same drawing can behave very differently during assembly. In many cases, stack-up is driven more by datum consistency than by cutting accuracy.
Position Accuracy Matters More Than Size
In practice, many assembly issues end up tracing back to position rather than size. This distinction often gets overlooked because size is easier to measure and easier to correct.
Size errors can usually be adjusted with offsets. Positional errors affect how features relate to one another, and once those relationships are wrong, they are difficult to fix.
Feature Location Errors That Inspection Often Misses
Routine inspection tends to focus on diameters, widths, and thicknesses. Feature location is checked less frequently, especially in production where inspection time is limited. As a result, parts may appear compliant while subtle positional drift goes unnoticed.
This becomes a real problem for hole patterns, slots, or interfaces that must align across multiple components. Assembly exposes these issues immediately.
Why Positional Drift Breaks Assembly
Positional drift affects perpendicularity, concentricity, and true position. These relationships control how parts sit, rotate, and share load. Even small shifts can cause fasteners to bind, surfaces to rock, or stresses to concentrate where they were never intended.
Once features are cut in the wrong relationship, no amount of offset adjustment can bring them back into alignment. At that point, the assembly problem is already built into the part.
Repeatability vs One-Time Accuracy
A part that measures correctly once is not necessarily a stable part. Repeatability describes how consistently a machine and process return to the same result under real cutting conditions.
In production, repeatability matters far more than hitting a perfect number on a single inspection report.
Why a Part Can Measure Right Once and Drift Later
Early parts often look great. The machine is cold. Tools are sharp. Cutting forces are predictable. As production continues, heat, wear, and load begin to influence machine behavior.
If repeatability is weak, inspection results start to spread. Adjustments become reactive. Assembly problems appear intermittently rather than all at once. There is rarely a single cause behind this kind of failure.
Common signs include parts that assemble easily early in a run but require force later, or results that change when production moves to a different machine even though the program stays the same.
Machine Behavior Under Cutting Load
Machines do not behave the same under cutting load as they do during calibration or dry runs. Structural stiffness, drive systems, and thermal response all influence how repeatable motion remains while material is being removed.
This is usually where teams start chasing offsets instead of the real issue. When machine behavior shifts under load, process capability becomes the limiting factor, not the program.
Thermal Effects During Production Runs
Heat is always part of CNC machining. Motors generate heat. Cutting generates heat. Shop temperatures change throughout the day. All of this affects both the machine structure and the part.
Why Parts Change After Warm-Up or Downtime
After downtime, machines cool and internal stresses rebalance. Once cutting resumes, temperatures rise and geometry shifts slightly as the structure expands. Parts produced during this transition often differ from parts made later in the run.
How Temperature Variation Shows Up at Assembly
At looser tolerance levels, thermal movement often hides inside allowable limits. As tolerances tighten, the same movement shows up as misalignment or inconsistent fit.
A familiar pattern on the shop floor is assembly trouble after long breaks—Monday mornings, lunch periods, or extended idle time—that gradually disappears without any program changes. When this happens, the root cause is almost always thermal, not programming or tooling.
Why Inspection Alone Cannot Predict Assembly Success
Inspection tools are excellent at confirming numbers. They are far less effective at predicting how parts will behave when constrained, bolted, or loaded in an assembly.
Limits of Size-Based Inspection
Size-based inspection looks at features in isolation. It does not capture how features interact once parts are forced into alignment. On paper, nothing looks wrong. In reality, the assembly tells a different story.
Assembly as a System-Level Check
Assembly tests the entire system. It exposes accumulated variation, positional drift, and thermal behavior in ways no single measurement can. This is why assembly is often where accuracy limits finally show themselves.
When Assembly Problems Are Not Machining Errors
Assembly failures do not automatically mean poor machining. In many cases, they point to design assumptions that do not match production reality.
Design Assumptions vs Manufacturing Reality
Designs often assume perfect alignment, uniform temperature, and zero variation. Real production never operates under those conditions. When assumptions are too optimistic, assembly problems follow even when machining quality is high.
Over-Specified Tolerances That Add Risk
Tighter tolerances increase sensitivity to variation. Beyond a certain point, they reduce robustness instead of improving function. Many assembly issues come from tolerances that are unnecessarily tight and difficult to hold consistently in real production.
If acceptable results depend on perfect conditions, the issue is rarely a single bad part. It is a mismatch between design intent and manufacturing capability.
Reducing Assembly Risk in CNC Machining
Assembly risk cannot be eliminated, but it can be managed.
Practical Setup and Process Considerations
Reducing setups, keeping datums consistent, and planning machining sequences around functional features usually have more impact than fine-tuning cutting parameters. These decisions shape how variation accumulates across the part.
Choosing Realistic Tolerance Targets
Effective tolerances support function without forcing instability into the process. The goal is not theoretical perfection, but predictable assembly under real production conditions.
Root Cause Analysis: Why “Pass” Parts Fail Assembly
| Scenario | Inspection Report (PASS) | Assembly Floor (FAIL) | Root Cause (The “Why”) |
| Size vs. Relationship | Hole diameters are within $\pm 0.02mm$ tolerance. | Bolts cannot pass through; components require “persuasion.” | True Position Drift. Individual sizes are correct, but the spatial relationship between features is misaligned. |
| Static vs. Dynamic | The part measures perfectly flat on a granite surface plate. | The part warps or binds once bolted down to the frame. | Datum Inconsistency or Internal Stress. The inspection setup doesn’t mimic the functional constraints of the assembly. |
| Individual vs. Stacked | Every single dimension is technically within the “green” zone. | Total clearance disappears; parts are too tight or interfere. | Tolerance Stack-up. Multiple features at their limit-of-size combine to exceed the functional assembly limit. |
| Cold vs. Warm | The First Article (FAI) sample is perfect and stable. | Intermittent fit issues occur halfway through the production run. | Thermal Displacement. Heat buildup during long runs shifts the machine geometry, causing subtle “invisible” drift. |
Conclusion
In real CNC production, assembly success depends less on hitting an isolated inspection number and more on how stable feature relationships remain over time. Tolerance stack-up, positional accuracy, repeatability, and thermal behavior all influence whether parts assemble consistently once production moves beyond the first few runs.
This is why assembly issues often appear even when inspection data looks acceptable. The limiting factor is usually not a single dimension, but the combined behavior of the machine, setup strategy, and process conditions under real cutting load.
At JeekRapid, CNC machining is approached with this reality in mind. Rather than chasing extreme precision for its own sake, JeekRapid focuses on tolerance ranges that support reliable assembly in aerospace and industrial applications. By emphasizing setup consistency, thermal stability, and sustained machine behavior, parts are produced to assemble predictably across real production runs,not just during inspection.
FAQs
Why do CNC parts pass inspection but fail during assembly?
CNC parts often pass inspection because individual dimensions meet tolerance, but assembly failure occurs when positional relationships, tolerance stack-up, or repeatability issues appear across multiple features under real assembly conditions.
Can tolerance stack-up cause assembly failure even if all dimensions are in tolerance?
Yes. Tolerance stack-up allows small, acceptable variations on individual features to accumulate into larger functional misalignment, which is often only revealed when parts are assembled together.
Why does assembly fail after the first article inspection passes?
First article inspection is usually performed under controlled, short-run conditions. As production continues, thermal effects, machine repeatability, and setup variation can introduce changes that were not present during initial inspection.
Is assembly failure always caused by poor CNC machining quality?
No. Many assembly issues are caused by design assumptions, over-specified tolerances, or process capability limits rather than machining errors. A part can be machined correctly and still fail assembly if the system-level behavior is not considered.

